Calendly simplifies scheduling, while Todoist helps manage tasks and to-do lists. When integrated, these tools can revolutionize your workflow, enabling you to manage your time and tasks more effectively. This blog explores Calendly Todoist integration, its benefits, and how businesses can use it for optimal productivity.
Before diving into the integration, it’s essential to understand what each tool brings to the table.
Calendly: Simplifying Scheduling
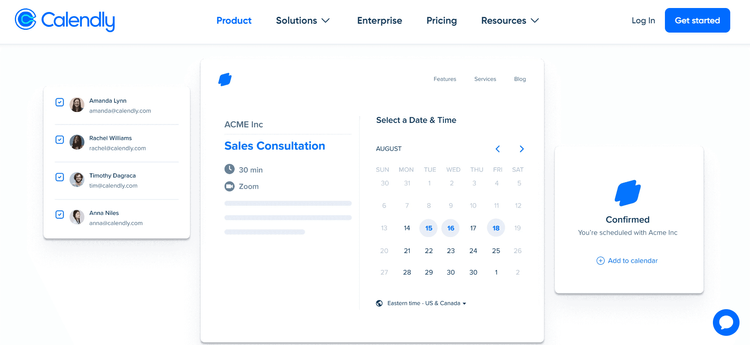
Calendly is a powerful scheduling tool that eliminates the back-and-forth emails typically involved in setting up meetings. With Calendly, you can share your availability with clients or colleagues, allowing them to choose a time that works for both parties. Calendly integrates with various calendar applications, such as Google Calendar and Outlook, ensuring that your schedule is always up-to-date.

Key Features of Calendly:
- Automatically schedule meetings based on your availability.
- Create different types of meetings (e.g., one-on-one, group meetings).
- Automatically detects and adjusts for different time zones.
- Integrates with tools like Zoom, Google Meet, and more.
Todoist: Mastering Task Management
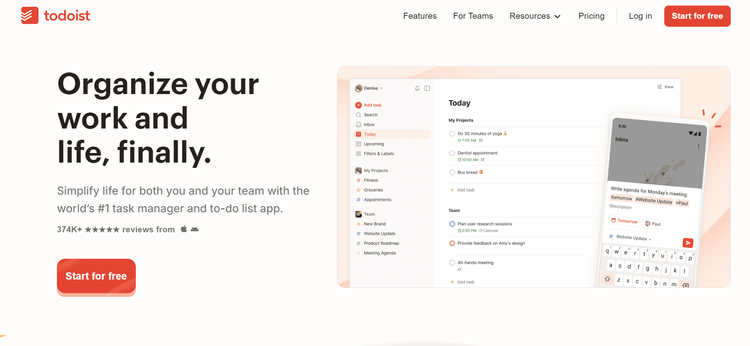
Todoist is a robust task management tool that helps individuals and teams organize their tasks and projects. Whether you’re managing a simple to-do list or a complex project, Todoist provides the structure you need to stay on track. It allows users to create tasks, set deadlines, prioritize work, and even collaborate with others.

Key Features of Todoist:
- Easily create tasks and organize them into projects.
- Assign priority levels to tasks to focus on what matters most.
- Set due dates and receive reminders to ensure deadlines are met.
- Share projects and tasks with team members for seamless collaboration.
Why Integrate Calendly and Todoist?
Integrating Calendly with Todoist offers a powerful solution for managing your schedule and tasks simultaneously. This integration allows you to automatically create tasks in Todoist based on meetings scheduled through Calendly. By doing so, you ensure that every meeting is accounted for in your task management system, reducing the risk of missing important follow-ups or action items.
Benefits of Calendly Todoist Integration
The integration of Calendly Todoist has many advantages, which we will now explore:
Streamlined Workflow:
- Every time a meeting is scheduled through Calendly, a corresponding task is automatically created in Todoist. This ensures that you have a clear follow-up plan for each meeting.
- With tasks automatically generated, there’s no need to manually input meeting details into Todoist, saving you time and reducing errors.
Productivity:
- By linking meetings to tasks, you can easily prioritize follow-ups based on the importance and urgency of the meeting, helping you stay on top of your responsibilities.
- Having your meetings and tasks in one place reduces the need to switch between different tools, allowing you to focus more on executing your tasks.
Improved Collaboration:
- If you’re collaborating with a team, tasks created from Calendly meetings can be shared with relevant team members in Todoist. This ensures everyone is aligned and aware of upcoming tasks.
- Easily delegate tasks related to meetings, ensuring that each team member knows their responsibilities and deadlines.
Better Time Management:
- By syncing your calendar with Todoist, you can avoid overcommitting yourself by having a clear view of your tasks and meetings in one place.
- With a complete view of your tasks and meetings, you can better balance your workload, ensuring you have enough time for both scheduled meetings and task completion.
How to Set Up Calendly Todoist Integration
Setting up the Calendly Todoist integration is straightforward, thanks to third-party automation tools like Klamp. Klamp acts as a bridge between Calendly and Todoist, allowing you to automate the process of creating Todoist tasks based on Calendly events.
Guide to Setting Up the Integration
Create Accounts:
- Ensure you have active accounts with both Calendly and Todoist.
- If you haven’t already, you can sign up for Calendly and Todoist on their respective websites.
Sign Up for Klamp:
- If you don’t have a Klamp account, sign up for one. Klamp offers free and paid plans, depending on the complexity and volume of your automations.
Create a New:
- In Klamp, a “Klamp Flow” is an automated workflow. Start by creating a new Klamp Flow.
- Choose Calendly as the trigger app and select “Event Scheduled” as the trigger event.
Connect Calendly:
- You’ll need to connect your Calendly account to Klamp. Follow the prompts to authorize the connection.
Set Up the Action:
- Choose Todoist as the action app. Select “Create Task” as the action event.
- You’ll be prompted to connect your Todoist account to Klamp.
Customize the Task Creation:
- Customize the task creation process by mapping Calendly event details (e.g., event name, date, time) to the corresponding fields in Todoist.
- You can also set the task priority, assign it to a specific project, and set due dates based on the meeting time.
Test and Activate the Klamp:
- Test the Klamp Fow to ensure that tasks are correctly created in Todoist when a new Calendly event is scheduled.
- Once you’re satisfied with the setup, activate the Klamp Flow to start automating the process.
Advanced Integration Tips
To maximize the benefits of the Calendly Todoist integration, consider the following advanced tips:
Custom Templates for Specific Meeting Types:
- If you have different types of meetings (e.g., client calls, internal team meetings), create custom task templates in Todoist for each type.
Automate Task Reminders:
- Use Todoist’s built-in reminders to automatically remind you of follow-up tasks after meetings. You can set reminders to trigger a certain time before or after the due date.
Link to Meeting Notes:
- If you take notes during meetings, include a link to the meeting notes in the Todoist task. This ensures that all relevant information is easily accessible when you’re working on follow-up actions.
Use Todoist’s Labels and Filters:
- Use Todoist’s labels and filters to organize and prioritize tasks created from Calendly meetings. For example, you could create a label like “Meeting Follow-Up” and filter your tasks accordingly.
How to Use Todoist Effectively
While integrating Todoist with Calendly is a powerful step, mastering the use of Todoist itself is essential for maximizing your productivity. Here’s how to use Todoist effectively:
1. Set Up Projects and Subprojects
Organize your tasks into projects and subprojects to keep your work structured. For instance, you might have a main project called “Client Work” with subprojects for each individual client. This allows you to easily track progress and manage tasks related to specific areas of your business.
2. Prioritize Tasks with Labels
Todoist allows you to assign priority levels to tasks, ranging from P1 (highest priority) to P4 (lowest priority). Use these priority levels to focus on the most critical tasks first. Additionally, you can create custom labels to further categorize and prioritize your work.
3. Set Due Dates and Recurring Tasks
Set due dates for your tasks to ensure that deadlines are met. For tasks that recur regularly, such as weekly reports or monthly reviews, use Todoist’s recurring task feature to automate their creation.
4. Use Todoist’s Filters for Focused Work
Filters in Todoist allow you to view tasks that meet specific criteria, such as all tasks due today or all tasks labeled “Urgent.” Create custom filters that align with your workflow to help you stay focused on what matters most.
5. Collaborate with Your Team
Todoist isn’t just for individual use, it’s also a powerful tool for team collaboration. Share projects with team members, assign tasks, and track progress collectively. This ensures that everyone is on the same page and working towards common goals.
6. Review Your Tasks Regularly
Make it a habit to review your Todoist tasks regularly. A weekly review is a great way to assess your progress, reprioritize tasks, and plan for the upcoming week. This practice helps you stay on top of your workload and avoid last-minute rushes.
Why to use Klamp for Calendly and Todoist Integration
Using Klamp to combine Calendly and Todoist may significantly enhance scheduling and task management processes. This interface enables the automated creation of tasks in Todoist in response to new Calendly events, ensuring that follow-ups and significant action items from planned meetings are not overlooked. Klamp's no-code interface facilitates straightforward setup, with customized triggers and actions tailored to individual requirements, such as assigning due dates or appending task labels according to event categories.
Moreover, Klamp's error-handling and real-time synchronization functionalities enhance accuracy across applications, diminishing human data input and mitigating the danger of oversight in task management. This connection facilitates a more efficient workflow by consolidating all meetings and tasks in a single location.


